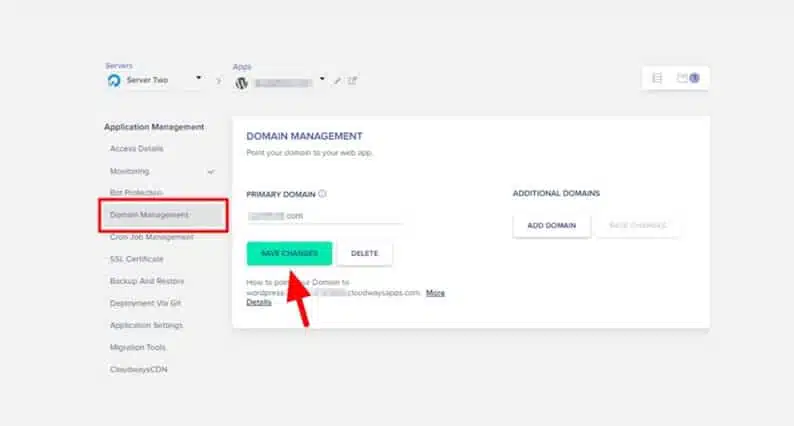
How to Point Your Domain in Cloudways Hosting
Domain pointing is essential for website owners looking to move their websites to a new hosting provider. It is not a complicated process, but following the proper steps is vital to ensure your website is quickly and securely moved to desired hosting provider.
Pointing Your Domain in Cloudways Hosting (Step By step)
1. Log In to Cloudways Hosting
2. Configure DNS Settings
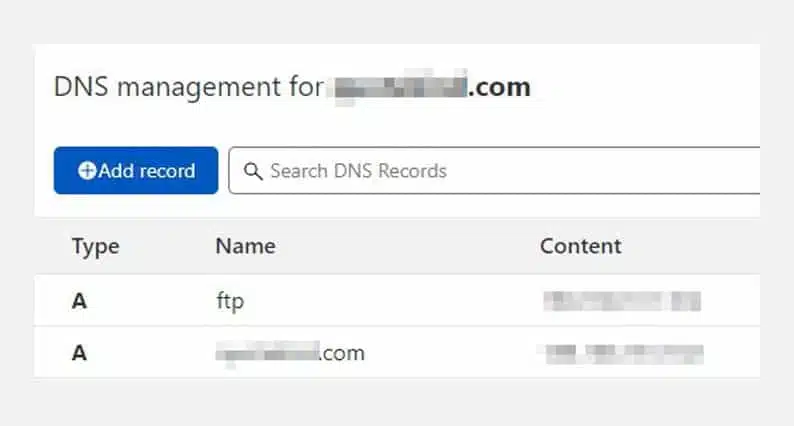
To configure your DNS settings, head to the Hosting tab in your Cloudways Hosting account. In the Hosting tab, select your hosting plan. Click the “DNS” button on the page; you will be taken to a page where you can add custom DNS records. DNS records are essential for the domain-pointing process.
These records tell your hosting provider where to redirect your domain once you point it toward the Cloudways Hosting server. For this article, you will need to add a few DNS records.
First, you have to add an A Record. This record tells your hosting provider to redirect all traffic from your domain to your VPS IP address.
To add an A Record, enter your domain name in the “A Record” field and your VPS IP address in the “IP Address” field. You can find your VPS IP address in the “Overview” tab of your VPS.
Next, you have to add a CNAME record. This record tells your hosting provider to redirect all traffic from your domain to “my-wp-cloudways.com”.
To add a CNAME record, enter your domain name in the “CNAME Field” field, and enter “my-wp-cloudways.com” in the “Alias” field. Now that you have added the DNS records, it is time to test the settings.
3. Update DNS Settings At Domain Registrar
Depending on your domain registrar, you must follow a different process to update the DNS settings. Take GoDaddy as the domain registrar for example. If you are using another domain registrar, you can refer to their documentation for instructions on pointing a domain to a new host.
Log in to your GoDaddy account and select the domain you want to point to Cloudways Hosting. From the “Manage” tab, select “Advanced DNS” and click “Edit”. You will be taken to a page where you can add the custom DNS settings.
In the “DNS Host” field, enter the IP address that you entered in the “A Record” field at Cloudways Hosting.
Next, in the “Name Server” field, enter the IP addresses you entered in the “Name Server” fields at Cloudways Hosting. Click “Save” to update the settings. If you followed the steps correctly, your domain name should start redirecting to your VPS IP address within 24 hours.
Wrapping it Up!
Basically, to point your domain on Cloudways Hosting, you need to change the nameserver settings at your domain registrar. Be patient during the transition process. It might take up to 48 hours for the DNS settings to propagate, which means that your website will take that long to start appearing on Cloudways Hosting.


